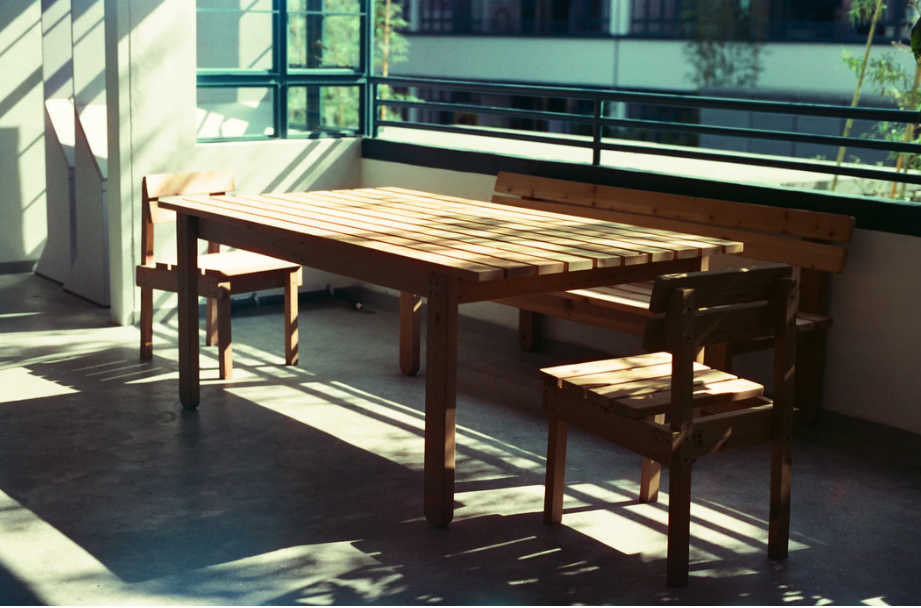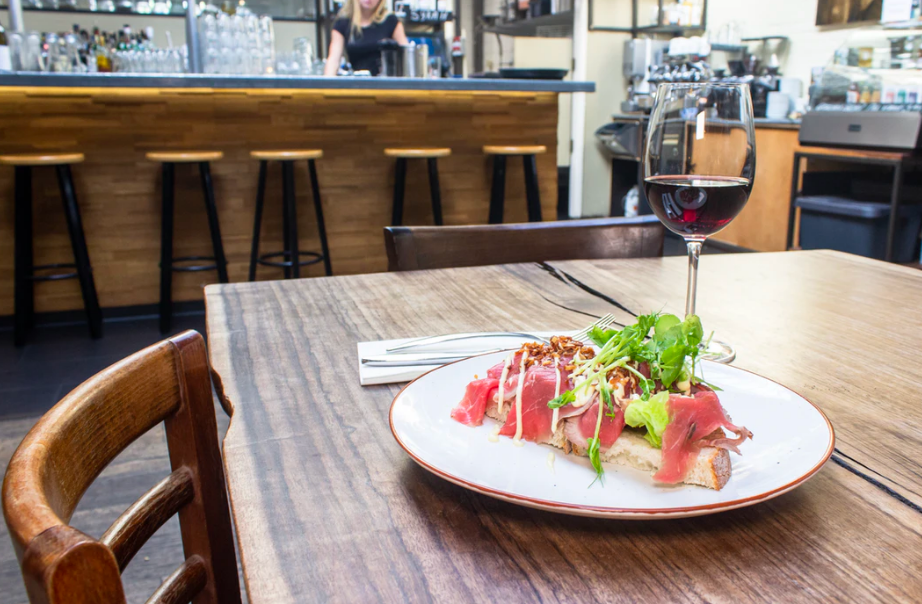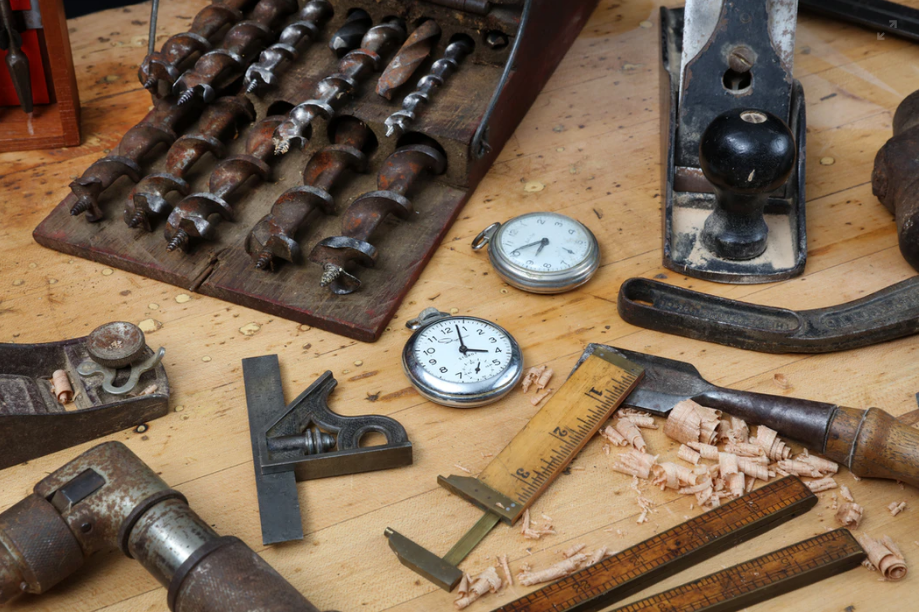
When the need of the hour is to look for a dining table, we either visit the furniture stores or keep the eyes glued on the various online furniture portals. Not many will consider building a dining table at home.
Of course, quite a few myths lead us to believe, making an effort to build any furniture would not be feasible. Yes, we mentioned the word “myth” for the right reasons. If you have a flair for designing or creating things, then you are welcome to build a dining table. Read on, as we first shatter the popular myths and then offer the necessary tips for making a dining table.
DIY dining tables have a shorter life
Often, we believe, any furniture including a dining table can be built by a professional only. However, when you take the proper initiative, you can build the most robust dining table that can give the ones available at stores a run for its money. For instance, you can add additional support, brackets, and so on to make it sturdier.
Moreover, you are dealing with the raw materials, this ensures, you are constructing the furniture with the best products. Most importantly, you can make the necessary modifications as and when necessary. Since you built the furniture, you will know its ins and outs accurately.
DIY dining tables look unappealing
It is all about implementing the thought process precisely and equipping yourself with the necessary information to start. The first-timers will face various challenges that can cause problems. But, you have the convenience of rectifying the errors and restart.

All this period, you must have patience and the zeal to build one of the best-looking furniture, in this case, a dining table. Your hard work will surely yield rich dividends. Soon, you will be a proud owner of a self-made dining table.
DIY dining tables will be very expensive
Here you go; this is yet another popular myth. For the unaware, if you compare a DIY dining table with the ones available at furniture stores, the competition of price is non-existent. DIY furniture will be way cheaper 9 out 10 times.
Believe it or not, by making your own dining table, you can expect saving more than 80% compared to buying it from conventional furniture stores. Regardless, of whether you are eyeing a piece of cheap furniture (made from laminate) or a piece of quality furniture (wood), DIY methods promise to save you money in the long run.
Making your own dining table
Let us cut to the chase. Now, that you realize, building your own dining table has many advantages, here is how to go about the job. Before we delve deeper, if you never had any exposure handling woodwork, you should think twice before proceeding. For those of you, who have some experience, would find this super-easy. Still, we advise, it is worth a try even for the novices if you find someone knowledgeable for guidance.

The things to start the project
The tools you need are as follows:
- Table Saw: You will use this tool for ripping and cutting.
- Radial Arm Saw: Utilize the radial arm saw for cutting the wood to the accurate length.
- Chisel: A chisel will help you to chip out the notches.
- Drill/Screwdriver: For adjusting the nuts and bolts, you have to drill holes and the screwdriver is indispensable for attaching the screws in the hole.
- Pocket-Hole Jig- Pocket holes are an essential item for dining tables; this tool will help you to do so.
Hand-Held Belt Sander: You will need the services of this tool for the overall project.
Other miscellaneous items include stain, brushes, paint, black spray paint, and polyurethane.
Timber wood (we are focusing on building a wooden table), you have to choose as per your preferences. You are free to select the numbers and sizes depending on your needs. Make sure, you are well-prepared with the hardware items. It would primarily include lag screws of various sizes, pocket-hole screws, and brackets.
Make an outline
Remember, you should first make a blueprint of how you plan to progress. Since you know the size of the timber, draw the plan to make a concrete plan. Ultimately, it will help you in making the joints and cuts precisely. We reiterate, if things feel confusing, you can take the guidance of someone who has experience in woodworking.
Cutting the wood
By now, you should be ready with the timber, so the next step involves cutting the wood. Cut them properly, and mark the lengths, and label them to avoid confusion later on. Naturally, you are looking for the best outcome. Thus, do whatever it takes to get accurate measurements before cutting the wood.
The tabletop
After the wood pieces are cut to their proper length, it is time to consider the way, you prefer arranging the tabletop. For better results, put the pieces of wood on the ground and rearrange them to find the design that looks the best. Also, do not forget to check it by flipping the wooden pieces to ensure the bottom of the tabletop is all good.
Preferably, do the above work on any flat surface. Now, it is time for drilling the pocket-holes and inserting the screws to arrange the wooden pieces together. For better results, you can clamp them all. Perform the above procedure with the remaining pieces for building the leaves.
At this point, take out the belt sander and wade off the print marks present on timber or any other flaws that may still exist. However, do not fiddle with the natural curves of the wood. It is these patterns that make it appealing.
Building the frame
With the tabletop ready, it is time to build the frame. Aim to start with making the notches for the legs. Do not forget to make them slightly bigger compared to the crossbeam. After marking all the pieces, commence cutting. Focus on raising the blade of the table saw to slightly lesser than half the thickness of the leg. By doing this, you will make it convenient for the wood on the top to meet the wood through which it joins, and will also increase the visual appeal.

The rip fence must be set so that you do not cut it too far up to the leg. Repeat the cutting procedure till the end of the notch. Now, it is time to use the chisel to remove the slices. At this juncture, the notches will be rough. Make sure, you use the saw to smoothen the surface. Follow the same procedure for the crossbeams and test-fit it to the legs.
Drill a few pilot holes through the crossbeams into the legs now. The next steps involve repeating the aforesaid process and cut a few notches in the top rails to let the leaves slide in. Then you should use the pocket-hole screws and attach them to the legs.
At last, we reach the point that can make life difficult for you. You ought to attach the side rails to the legs. Take our word, if you do not this correctly, it will give you a torrid time. For convenience, you might look for someone to stand on it for steadying the rails. Here again, the guidance of an experienced person can be very handy. If you manage to do this successfully, you are almost finished.
Wrapping it up
Your table requires the finishing touches. So, apply the paint to it. Always test the paint on a rough surface to determine how it will look. As you can understand, the paint color selection and the type will depend on the type of wood and your color preferences respectively. Lastly, apply polyurethane that ensures a protective finish. Congratulations, you just built your dining table. We leave the decoration part to you, which we are sure, you will do with élan.
